By setting up Proton VPN on your router, you can provide VPN protection to all your internet-connected devices. While there are many routers that provide this possibility, the setup process can be complicated. We have therefore partnered with InvizBox to create a router specifically for Proton VPN.
The InvizBox for Proton VPN is an open source router that we have tested and is configured to connect easily to your Proton account. In this article we explain how to set up and use your new InvizBox router. At the bottom of the article, you’ll find information about troubleshooting and how to contact support.
The first section of this article covers how to set up your InvizBox router. You can follow the instructions below and watch this video for a visual guide.
The second section covers how to connect your InvizBox router to your Proton account.
We’ll also show you how to create a profile in order to set up rules for accessing the InvizBox 2, and how to create a network so you can configure VPN hotspots for accessing the Internet.
Before getting started, we recommend you first retrieve your OpenVPN credentials by connecting to your Proton VPN account here.
Step 1: Connect the power cable to a power outlet. Connect the other end of the power cable to your InvizBox 2
Wait for your InvizBox 2 to power up, until the middle Internet LED is solid red.

Step 2: Plug one end of the supplied Ethernet cable into a spare LAN port on your router/modem. Connect the other end of the cable to your InvizBox 2’s WAN port. This is the yellow section on your InvizBox 2.
Wait for the middle Internet LED to turn solid Green.

Step 3: Connect a device to the “InvizBox 2 VPN 5GHz” WiFi hotspot. The password is on the bottom of your InvizBox 2, or you can scan the QR code.
*At this point you’ll still need to enter your Proton VPN login credentials to have internet access. If your device asks if you wish to remain connected, select “Yes”.
Step 4: Connect to the Administration Interface
- On Desktop, open your favourite browser and go to https://inviz.box/
- You can also access the Administration Interface through the official InvizBox 2 app. Scan the appropriate QR code below to download the app

Once in the Administration Interface, follow the onboarding instructions.
Step 5: Enter your OpenVPN credentials. Please note that in order to access your OpenVPN credentials you must go to https://account.protonvpn.com/account#openvpn. Note: to use our NetShield DNS filtering feature, append the suffix +f1 to your username to block malware, or +f2 to block malware, ads, and trackers (for example 123456789+f2).
*IMPORTANT: At this step you must be sure to select the Proton VPN plan that corresponds with your current subscription. If you choose the wrong plan you may experience some connectivity issues as you may not have access to certain servers.

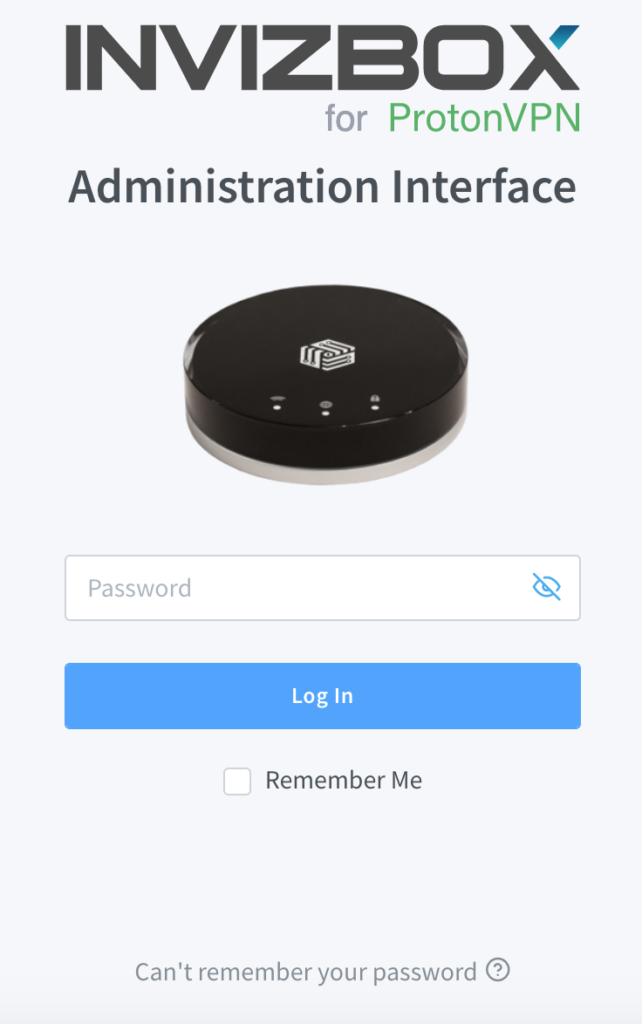
Step 6: Login to the Administration Interface using the password located on the bottom of your Invizbox 2.

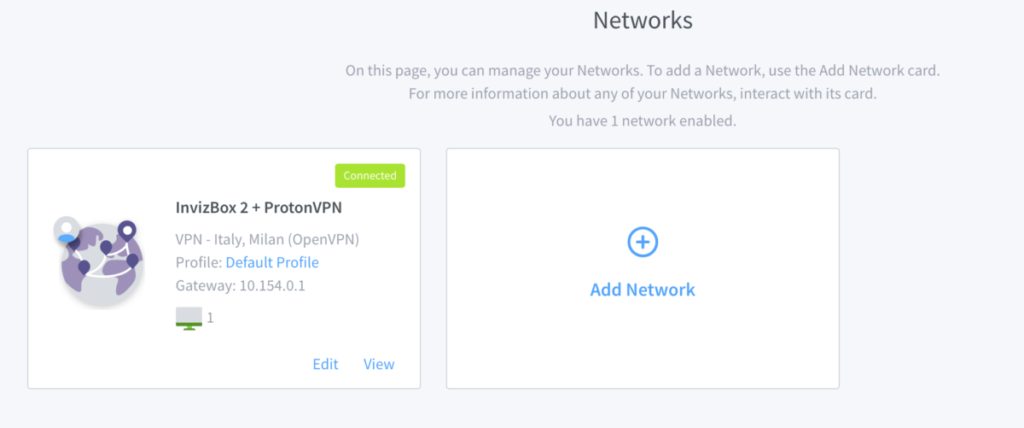
If you have entered your OpenVPN credentials properly, the right Security LED on your InvizBox 2 will also turn green, and your VPN network in the Administration interface will be “connected”.

*At this stage you might be wondering why your browser is saying the page is “Not Secure”. Your browser is made to access websites on the Internet and if the Administration Interface was on the Internet, it would definitely be insecure since it uses passwords over HTTP. The key difference here is that the Administration Interface is not on the Internet, it runs on your InvizBox 2 which is only meters away from you. It is physically secure from attacks and you are in charge when it comes to who is connected to it and whether you trust them.
During the initial startup, the InvizBox 2 generates a self-signed certificate and uses it to allow secure access on https://inviz.box. Since this certificate is self-signed, your browser will not initially trust it and will ask you to manually add it to the list of trusted certificates. Once you have done that, you will be able to use HTTPS without being prompted again.
Each time the InvizBox 2 is reset or flashed without keeping its configuration, it will regenerate a new unique certificate which will have to be accepted again.
Once in the Administration Interface, you can now begin to customize all of the settings on your InvizBox 2.

Creating a new Profile
A profile allows you to set up rules for accessing the InvizBox 2 and services on the internet. For a profile to become active it needs to be assigned to a network, you can do this in the Network Edit page (explained below). Using a profile, you can block certain devices, websites, enable parental controls, and allow devices to access the InvizBox 2 using remote access.
To start, navigate to the “Profile” tab. From here you will be able to see and manage the profiles on your InvizBox 2. Each card represents a profile and displays its general information. By clicking a card, you can edit the profile or get more detailed information about it.
To create a new profile, click “Add Profile”. From here, you’ll be able to edit the Profile name and add any rules such as device blocking, site blocking, enabling remote access, and device access.

Device blocking will let you add rules that will block access to devices connected to the networks using this profile. This can be useful if you’d like to limit the time your children can access the internet for example.

Site blocking will let you add many rules to which sites can be accessed while connected to the network using this profile. Rules include blocking ads and malware, adult content, fake news, gambling websites, and social networking websites. You can set up multiple profiles that have different blocking rules for different use cases.
*Clicking on “See blacklist source” will bring you to Invizobx’s Github repository.

You can also choose to only block specific sites. This can be useful if you find you’re wasting too much time on certain sites, or if you feel like the blacklists aren’t tailored to your needs.

Remote/device access will allow you to choose whether or not you’d like to enable remote access using SSH, or if you’d like to make a certain network only accessible to certain devices.

Creating a new Network
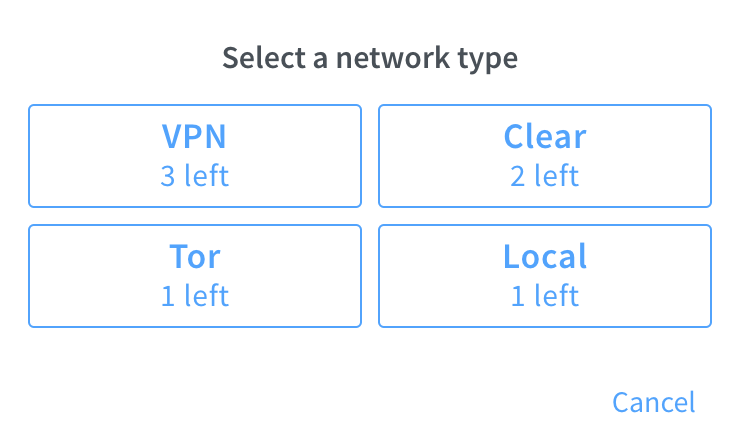
Networks allow you to configure access points to the Internet using the InvizBox 2. You can have up to 8 active networks at the same time. There are four types of networks for you to choose from, these are VPN, Tor, Clear and Local Networks. Each network provides a different way for you to access the internet. Let’s have a closer look at the different types of networks.
VPN Networks
When connected to a VPN network all of the data transmitted from your device is encrypted and sent to a server in a location you have chosen previously. Your data is then decrypted and sent to the website you originally wanted to send it to. This has several advantages, the service you are accessing doesn’t know who you are, it looks like your device is in the country of your choosing and all of your data is protected while being transmitted. You are able to change the location of the server for each VPN network.
Tor Networks
Similarly to the VPN network all of your data transmitted from your device is also encrypted, the difference being that when using Tor your data is encrypted several times and you are not able to choose your server’s location.
Clear Networks
Clear Networks provide a direct passthrough without encrypting your data. Clear Networks are great for tasks that require low latency like gaming. You can also use them to access your country’s local websites which may not be accessible through a VPN.
Local Networks
Local networks do not provide access to the internet. A Local Network is really useful for devices that you wish to connect locally and do not require internet access such as printers, baby monitors, network drives, etc.

Once you’ve selected a network type, you can begin to customize the network you’d like to create. From this page you’ll be able to customize the name and add whichever profile you’d like to have associated with this network.

From this page you’ll be able to configure your VPN however you’d like. By default you’ll only be shown the VPN server location, but clicking on “Show Advanced” will give you the ability to select exactly which server you’d like to connect to. If you have a preferred server already, you can find it from the dropdown menu. Alternatively, you can select a server at random.

The advanced settings will also allow you to select the VPN protocol you’d like to use. All the protocols are equally secure; what changes is performance. IKEv2 will give you the greatest speeds, but if for some reason your ISP has blocked this protocol you can select OpenVPN over UDP. If this is also blocked, you can fall back to OpenVPN over TCP. You can read our detailed guide on protocols here.

You’ll also have the ability to configure the WiFi for this network. You can choose to enable either a 2.4GHz or 5.0GHz hotspot, enable WPA2 encryption, and change the password for the hotspot. Clicking on “Show Advanced” will allow you to enable device isolation if you don’t want devices connected to this network to communicate with each other, or hide the hotspot so this network isn’t broadcasted to new devices.

From this page you can also choose to assign ethernet ports to this network.

*IMPORTANT: When you click “Save”, all your InvizBox 2 networks will temporarily go down. Once you’ve regained the connection, you’ll be prompted to return to the Networks page, and your new Network should now be shown.
Getting Support
The InvizBox router hardware is designed and manufactured by InvizBox and also sold directly by InvizBox. Therefore, for support inquiries, we suggest directing them to InvizBox which provides direct support for these devices.
If you’re having issues with your InvizBox 2 or need to troubleshoot any problems, you can navigate to the “Support” tab of the Administration Interface where you’ll find many resources. You can also visit the InvizBox support page here https://support.invizbox.com/hc/en-us, or contact them directly by filling out a support form here https://support.invizbox.com/hc/en-us/requests/new.
You can find more information about your Warranty and Acceptable Usage Policy at: https://invizbox.com/warranty